

How to grow atria cabbage: advice for professionals and amateur gardeners


Cabbage appeared in our country thanks to the Romans, who grew it on the Black Sea coast. Since then, it is impossible to imagine a kitchen menu without this vegetable: it is used in the preparation of various dishes, salted and fermented. Now about a hundred varieties of this culture have been bred, and the most successful variety today is a hybrid of white cabbage - the atria variety.
Content:
- Description of the variety atria
- Seed preparation before sowing
- Sowing seeds
- Growing seedlings
- Landing in open ground
- Care of atria cabbage seedlings
Description of the variety atria
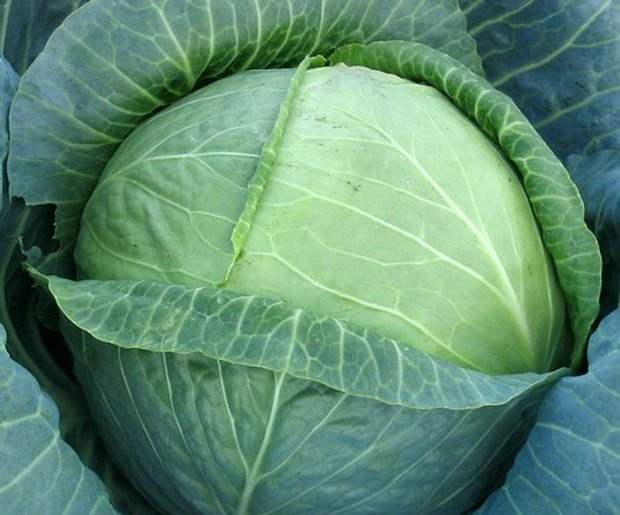
Atria refers to late-ripening cabbage varieties. This is the most popular and most suitable type for long-term storage. cabbage (it can be stored for up to six months). Possesses excellent taste, ideal for fermentation.
From the moment of germination to ripening, it takes from 130 to 150 days.
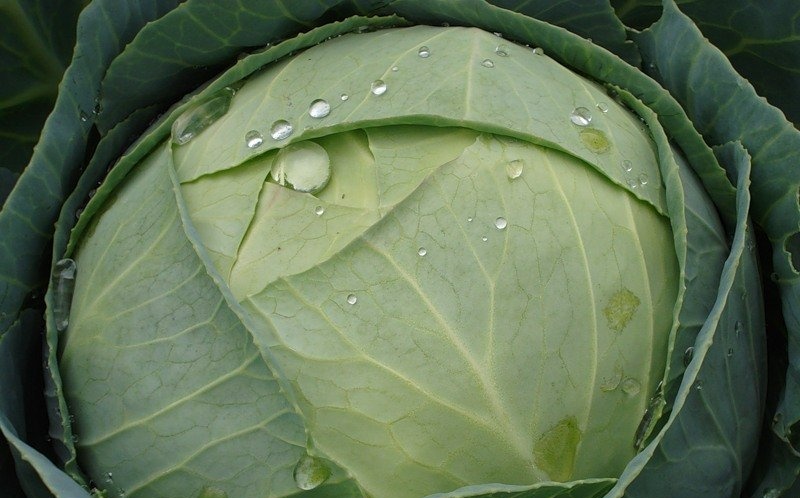
Head of cabbage is roundish greenish or gray-green in color, dense, resistant to cracking. The socket is raised, medium. The leaves are wide, oval, concave with a noticeable waxy coating. Inside, the sheets are thin, gradually thickening towards the outer layer. The mass of a head of cabbage ranges from one and a half to four kilograms.
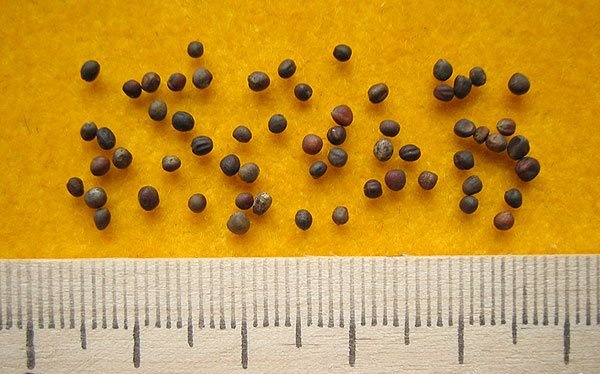
Seed preparation before sowing
Seeds Atria cabbage is recommended to be planted in April, towards the end of the month. Before sowing, it is advisable to check the seeds for germination. To do this, put the seeds in cheesecloth or cloth, moisten and leave for five days, constantly adding water so that the moisture does not evaporate. After five days, remove the seeds that have not sprouted.
It is recommended to carry out a prophylaxis procedure before sowing. diseases plants, which consists of several stages:
- Soak the seeds in water at about 50 degrees for 15 minutes.
- Dip in cold water for 1 minute.
- Soak for 12 hours in a solution: 5 grams of compound fertilizer (nitrophoska, nitroammofoska) per liter of water.
- Rinse with fresh water.
Place for one day in a cool place (at a temperature of one to two degrees). This helps to harden the seeds.
Sowing seeds
After the hardening procedure, dry slightly the seeds... To prepare the soil, take in equal parts:
- Peat
- Sand
- Sod land
Add superphosphate in powder and wood ash to the soil in the proportion: 1 bucket of soil - 17 grams of superphosphate, 8 grams of ash. Pour the well-mixed soil mixture into low containers (about six centimeters high), level and pour with a solution of "Hom" or potassium permanganate. For ten liters of water, 1 gram of potassium permanganate or 20 grams of "Homa"
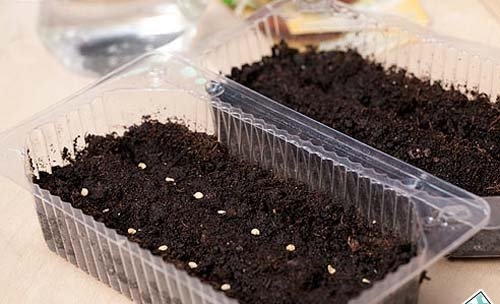
Then, at intervals of three centimeters, make furrows about a centimeter deep. The seeds should be sown at a distance of 1 cm. Cover the grooves with the remaining soil and tamp lightly.
Place the box with the planted seeds in a warm room (about 18-20 degrees) on the windowsill.
After the emergence of sprouts (usually on the fourth, fifth day), seedlings transfer to a room with a low temperature not exceeding seven degrees. The warm microclimate at this stage of growing seedlings leads to the death of seedlings.
Growing seedlings
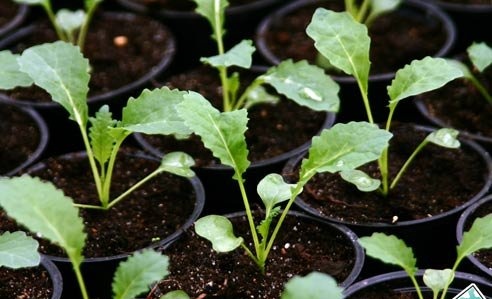
10 days after sprouting, seedlings dive - transplanted in containers with a diameter of 6-8 cm. For this purpose, you can take cups. Fill them with the same soil you prepared before sowing the seeds. Water before picking seedlings potassium permanganate solution. Place the plants in the ground until the cotyledon (first two) leaves. Containers with seedlings can be put in boxes for convenience.
Place the cut seedlings closer to the window, where the temperature is maintained at about 18 degrees. After two to three days, the temperature in the room with the seedlings should be reduced to 13 degrees during the day and to 10-12 degrees at night.
After about 25 days, the plants have two or three true leaves.
After the seedlings have four to five true leaves, they will be ready for planting in the garden. The prepared seeds can be planted directly on the area under the film. Quenching is required 20 days before planting in the open soil of the atrium. If the plants are at home, they are taken out to the balcony or loggia (the temperature is not higher than 6 degrees), if the cabbage was planted in the garden, they open the film.
After the appearance of the first real leaves, swipe top dressing spraying method:
- Half a tablet of complex mineral fertilizer Dissolve with trace elements in one liter of water.
- At the beginning of the hardening procedure, make a second top dressing - 10 liters of water / 10 grams of fertilizer (potassium chloride, potassium sulfate, urea).
- Use 200 ml of solution for each cup with the plant.
Landing in open ground
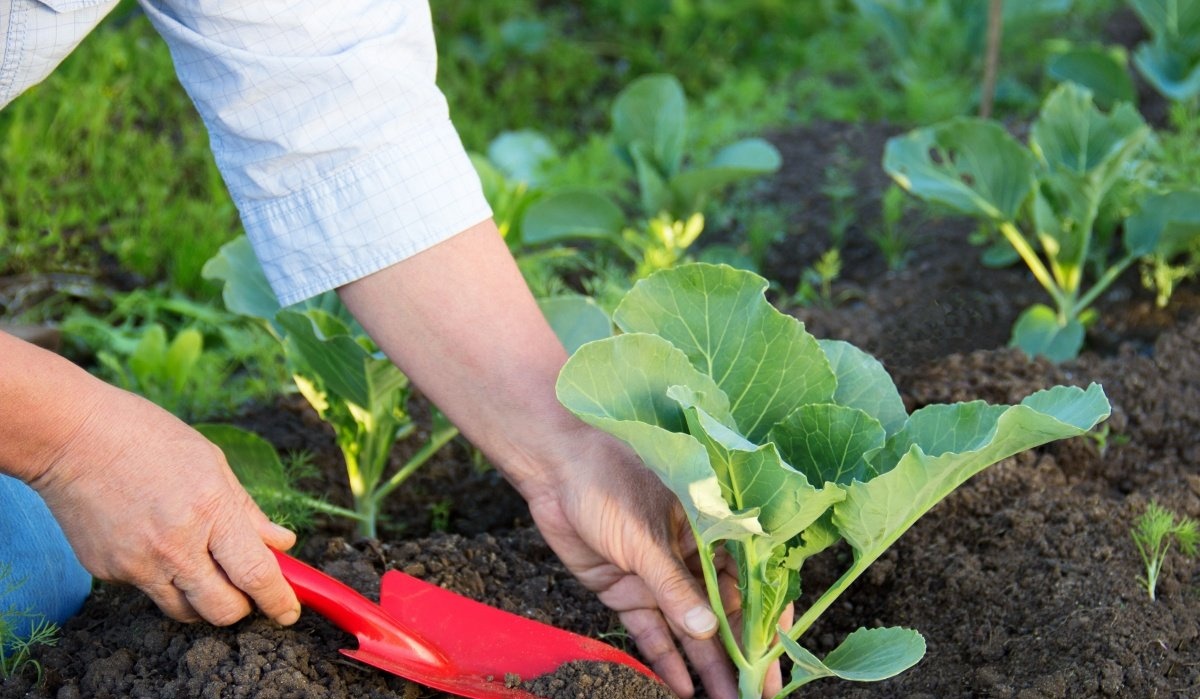
Tips for planting in the ground:
- The best time for planting atria seedlings on the site is from 10 to 20 May.
- For atria cabbage, open, light, flat areas with fertile soil are most suitable.
- The optimal distance for cabbage seedlings is 30 - 35 cm from each other with an interval between rows of 55 - 60 cm.
- It is advisable to land in cloudy weather, or after 15 o'clock if it is hot and sunny.
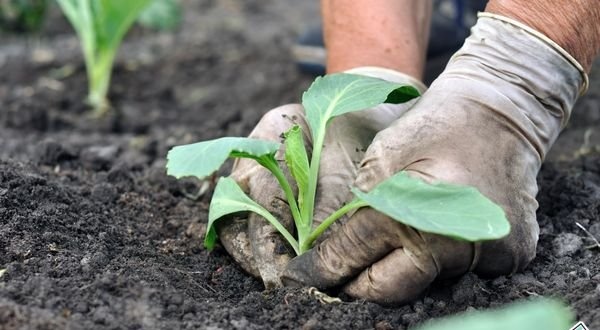
- When transplanting into the soil, deepen the seedlings to the lower true leaves.
- In order for the cabbage to take root well, in the first five days it is recommended spray water two or three times a day.
- To avoid plant burns, cover the seedlings from the sun for the first two days.
Cabbage, which is planted immediately on the site, has a more developed root system, and its growing season decreases by 15-18 days. But she needs more attention and care.
Care of atria cabbage seedlings
Cabbage loves moisture, so it needs regular watering. After landing The atria can be watered every two to three days: 8 liters of water per 1 sq. m. After two to three weeks, watering is done less often: once every seven days, 13 liters per 1 square meter of beds. As a late-ripening variety, atria especially needs watering in August. Be sure to loosen the soil after watering. Take warm water, with a temperature of at least eighteen degrees.
Three weeks after planting the atria on the garden bed, do the first hilling, after eight days - the second.
During the formation of a head of cabbage, fertilizing with nitrogenous fertilizers is recommended. For the entire growth period, it is advisable to make three or four dressings:
- The first is 20 days after planting in the garden. Dilute 2 tbsp. tablespoons "Effekton" in 10 liters of water, use half a liter of this solution for one seedling.
- The second - with an interval of 10 days. Take 1 tablespoon of "Kemir" and 500 ml of bird droppings (or mullein) per 10 liters of water. One seedling is watered with one liter of such a solution.
- The third is held in June. A square meter of a plot with cabbage is fertilized with five to seven liters of top dressing: for 10 liters of water - 18 grams of superphosphate and 20 grams of potassium sulfate.
- The fourth is in August. The beds are treated with a solution of nitrophoska (for 10 liters of water - 15 grams of the drug) at the rate of 5-7 liters per one square meter.
Growing cabbage does not require a lot of time and effort, and, thanks to the properties of the atria hybrid, you will have a healthy and tasty vegetable on your desk all year round.
More information can be found in the video.
I noticed that cabbage is a delicate plant that requires good care. In general, it must be well watered, and besides this, pests appear, it is necessary to spray it so as not to damage the entire plant.