

How to grow a tomato Finish correctly?


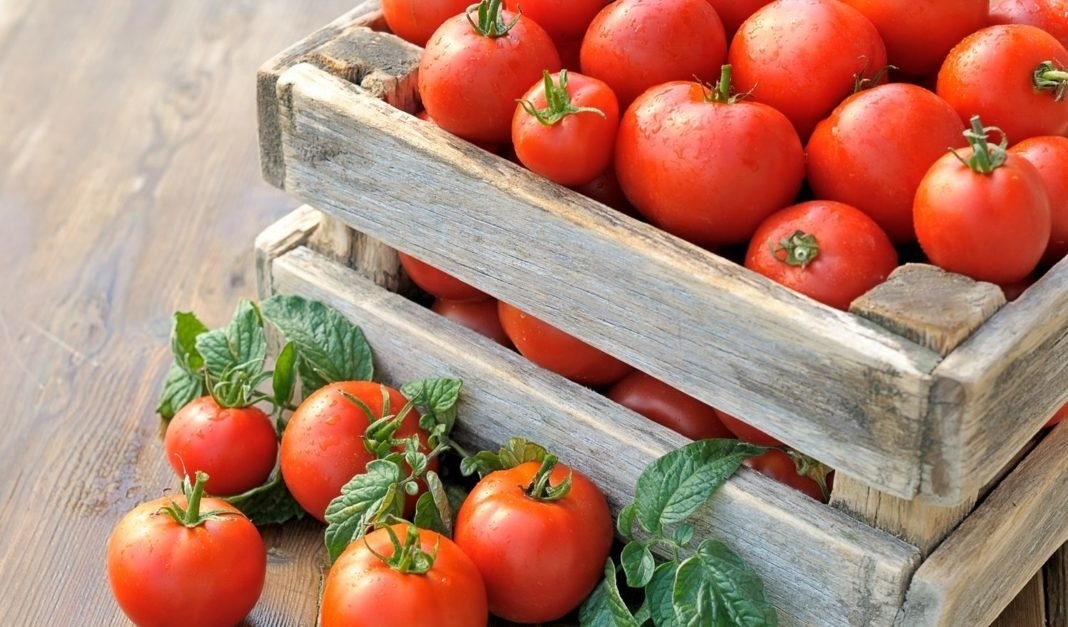
The fruit of the Finish tomato tastes great. Tomatoes eaten fresh or processed. The juice made from them is especially tasty.
Content:
- Description and benefits of the variety
- Preparation of planting material
- How to sow seeds for seedlings correctly?
- Diving tomato seedlings
- Planting seedlings in the ground
- Diseases and pests
Description and benefits of the variety
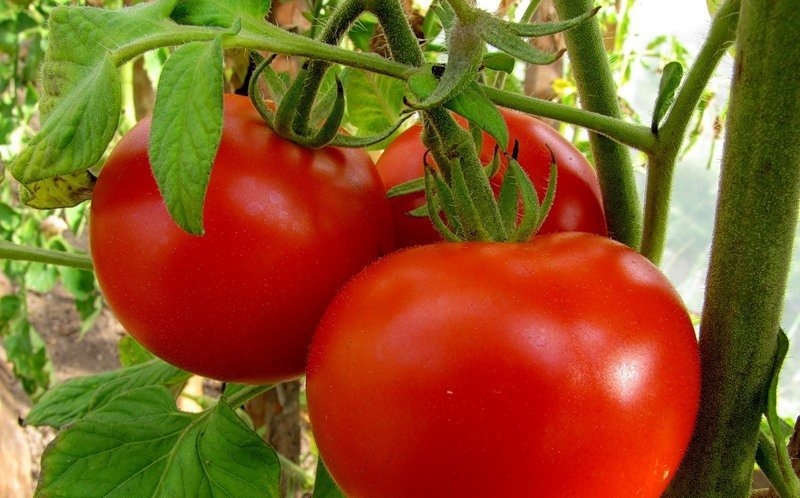
Tomato Finish belongs to undersized (determinant) varieties. The height of the bush reaches 60-75 cm. The number of shoots and leaves is small. Fruits are round or slightly flattened, orange-red. Average size, weight of one about 80 g. Seeds are located in 4-6 chambers.
Designed for growing in open ground and in film greenhouses.
Fruits begin to form after 5 leaves, followed by every 2 leaves. Ripening dates are late. It takes 120 days from germination to picking up the first fruits. The advantage of the variety is a stable yield (from 260 to 610 c / ha) and resistance to verticillary wilting of tomatoes.
Preparation of planting material
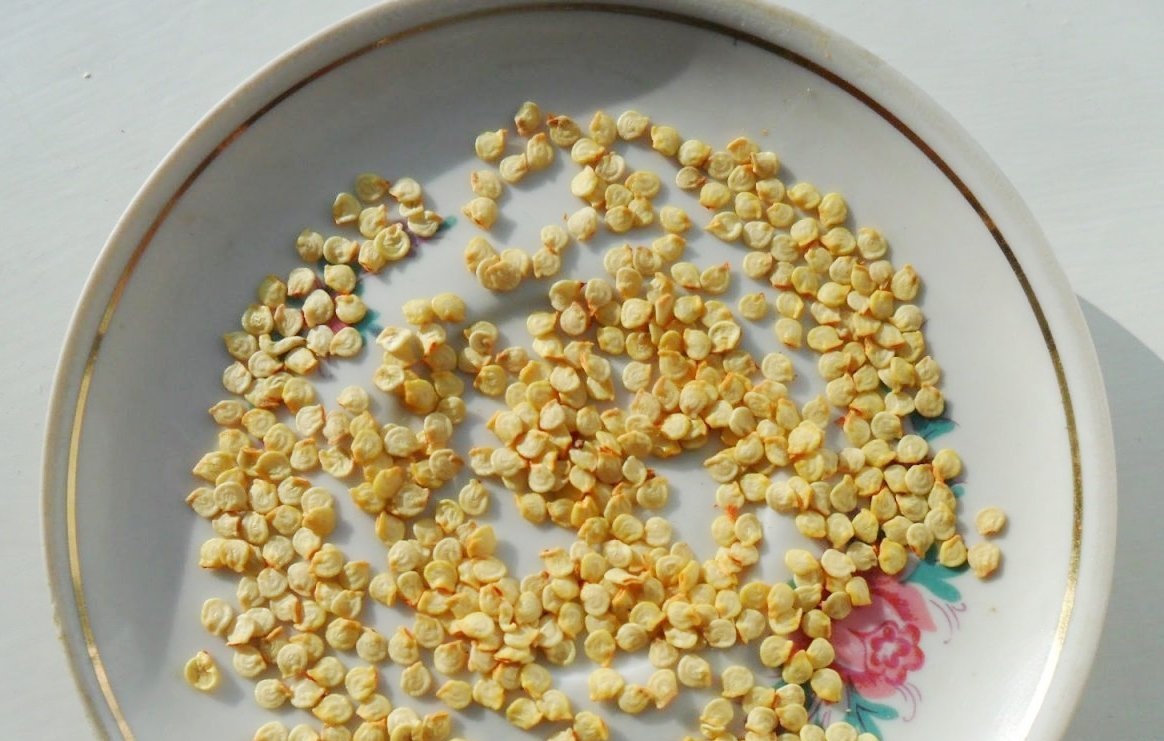
Seeds are sown for seedlings a month before planting. If this is done too early, the seedlings will outgrow and stretch, which will negatively affect the quality of the crop. In the southern latitudes, this is the end of February - mid-March, in the central latitudes - the second half of March. When grown in northern regions, seeds are sown in the first half of April. When growing Finish tomatoes in a greenhouse, you can sow seeds 2 weeks earlier.
Seeds are prepared. The fact that they are processed by the manufacturer will be evidenced by the multi-colored shell. If it is not there, you yourself need to take care of protecting the seeds from diseases. Disinfection is carried out in one of the ways:
- For 15 minutes, the seeds are soaked in a weak solution of potassium permanganate, washed. If you keep it for a long time, the yield will decrease.
- Soak the seeds for a day in a weak solution of soda. It disinfects and accelerates fruiting.
- Aloe leaf is hidden in the cold for a week. Squeeze out the juice, immerse the seeds in it for a day. Processing increases the immunity of plants, improves the quality of the fruit.
Disinfect the soil in one of the following ways:
- Warm up in the microwave in small batches for 2 minutes.
- Calcined in the oven for 10 minutes at a temperature of 180 ° C.
- Spill with boiling water.
After disinfection, the earth is watered and kept in a warm room for up to 10 days, until beneficial microorganisms begin to develop in it. Then you can sow the seeds.
How to sow seeds for seedlings correctly?

They put the soil in boxes, slightly compact. Make grooves with a depth of 1 cm and a distance between them up to 4 cm. Place the seeds along the grooves at a distance of at least 1 cm. Sprinkle with soil. You can immediately spread the seeds over the surface of the soil, then sprinkle them with a layer of earth. But during the germination period, this layer will rise along with the tomato sprouts, creating an air cushion inside. This can harm the seedlings.
Cover with glass or foil, set in a room with a temperature of 25 ° C.
You can lean against the heating radiator. So the seeds will sprout quickly and amicably. Control soil moisture by opening the glass and shaking off dew drops on it. If the soil dries up, moisten it with a spray bottle. The appearance of mold indicates excessive watering and high humidity.
They remove the affected layer of earth, spill it with a solution of potassium permanganate or Fitosporin, add new soil. At a high temperature in the room, seedlings appear a few days after sowing, at a lower temperature, later.
The sprouts need to create the following conditions:
- Seedlings need a lot of light. Place boxes on the south or southwest windows. If the illumination in the room is weak, they are illuminated phytolamps.
- The humidity in the room should be high. To do this, you need to spray the seedlings daily with water at room temperature, install air humidifiers.
- The temperature during the day should not drop below 18, and at night 12 ° C. Optimal for the day will be 22 ° C.
Remove the film or glass. Watering is carried out as the soil dries out. It should not be overdried so that the seedlings do not die. But you can't fill it in either, a black leg fungal disease can destroy it. It is especially dangerous for seedlings that are planted on a cold windowsill and grow in damp ground.
I water the young shoots without getting on the cotyledons and real leaves. It is convenient to do this with a syringe. Seedlings are hardened as early as possible. Start with 5 minutes and gradually increase the procedure time. Carefully accustom to the wind, which can dry out the leaves, making them white. Seasoned seedlings are distinguished by a purple shade of leaves, a strong shaggy stem. She is not afraid of direct sunlight and wind.
Diving tomato seedlings
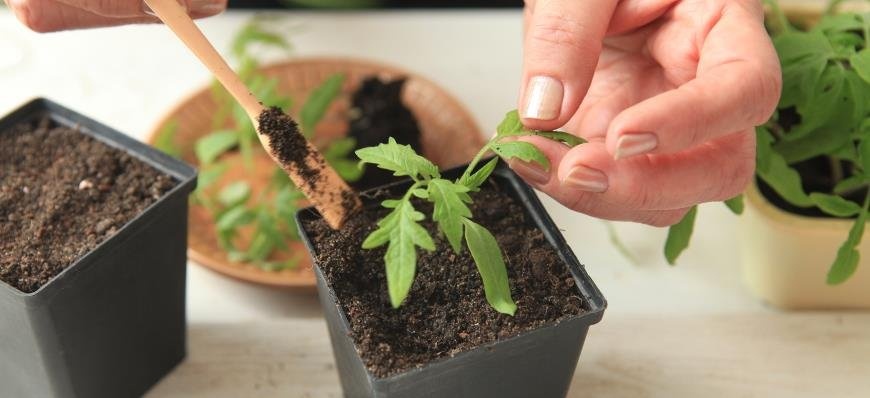
Before dive add liquid organic matter or mineral fertilizers, the dosage of which is reduced by 2 times. The dive of seedlings is carried out after it has real leaves. Do this after the seedlings become cramped in the box.
How to dive seedlings correctly:
- Prepare pots. Their volume depends on the size of the seedlings. Fill them with soil.
- Seedlings are pre-watered so that the root system is damaged as little as possible during transplantation.
- With the left hand, hold the plant by the stem. With a blunt knife or spatula, pry the earth so that the root comes out along with a lump of earth.
The pick is performed once or twice. It allows you to increase the feeding area. When transplanting, the roots break off, which leads to the formation of a large number of new ones, the root system is strengthened.
Planting seedlings in the ground
Seedlings are planted in open ground after the threat of recurrent frosts has passed. Usually this is the end of May, the beginning or the first decade of June. Choose a sunny, well-ventilated area; cultivation in light partial shade is allowed. The best predecessors for tomatoes are considered carrot, onion and cucumbers. Strawberry improves the quality of the fruit next door. Do not plant tomatoes after potatoes, pepper and eggplant.
Soil acidity should be between 6.0 and 7.0.
With high acidity, slaked lime is added, with low acidity, sulfur. 0.5 kg is applied per 1 m2. The plot for growing tomatoes is prepared in the fall. After harvesting the crop-predecessor, the remains of the tops are removed, chicken manure, peat, humus are introduced, compost at the rate of 5 kg per 1 m2 or mineral fertilizers (25 g potassium salt, 50 g superphosphate). Dig it to a depth of 25 cm.
In the spring, fertilize a second time, but avoid fresh manure. It will lead to exuberant growth of stems and leaves, and weaken the growth of fruits. Better to use humus. In the southern regions, Finish tomatoes are planted in rows at a distance of 50 cm.If tomatoes in the garden are often affected by late blight or other fungal diseases, the distance between plants is increased to 70 cm.
If the groundwater is close to the surface of the site, the Finish tomatoes are planted in the ridges. They are formed in the direction from north to south. The width of the ridges is 120 cm, the height is 15 cm. Tomatoes are planted in 2 rows.
Tomatoes can be planted:
- In a square-nesting way (the distance between the bushes is 70 cm, up to 3 plants are planted in one hole.
- By the belt-nesting method (irrigation furrows at a distance of 1.4 m, tomatoes are planted on both sides, at a distance of 60 cm from them).Install 2 bushes in one hole.
The feeding area of each bush is 0.3 m2. To plant a plot of 100 m2, you need about 250 plants. It is better to plant tomatoes in the evening. When planted in the morning in sunny weather, they will also survive, but at first they will fade a little. Water the plants abundantly in advance so that the soil adheres well to the roots. Dig holes 15 cm deep. Water using 1 bucket of water per 8 holes. If the previously applied fertilizers are not enough, mineral or organic fertilizers.
Remove the seedlings from the dish, gently turning the dish onto its side. Set in the hole so that the root system is completely immersed in it. Cover the holes with earth. Mulch with cut grass, sawdust 10 cm high.
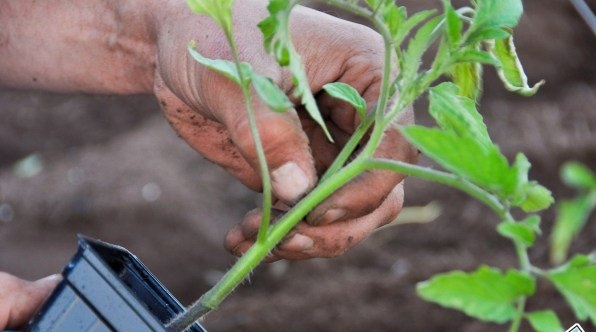
You can not water for about a week. After 10 days, the seedlings are examined, a new one is planted instead of the missing one, and watered. Plants are tied up if deemed necessary. For determinant varieties, this is not necessary, but a tied bush will receive more light, less disease. In the future, the soil is loosened in the aisles, weeds are removed. After the fruits have set, the leaf underneath can be removed. Stepchildren break off if they interfere with the normal development of the bush. Several stepchildren can be left to bear fruit.
Diseases and pests
Tomato Finish is resistant to verticillary wilt. But it can be affected by other diseases, fungal and viral:
- Late blight is accompanied by the appearance of brown spots on the leaves, stems and fruits. The lower part of the leaf is covered with a mealy bloom. This is a fungal disease.
- Fomoz - brown rot of fruit. Large spots appear near the stalk. The fruits are lost. They are removed even before complete defeat.
- Cladosporium (brown spot) can be seen by light gray patches under the leaves. The disease spreads quickly, the plant dies.
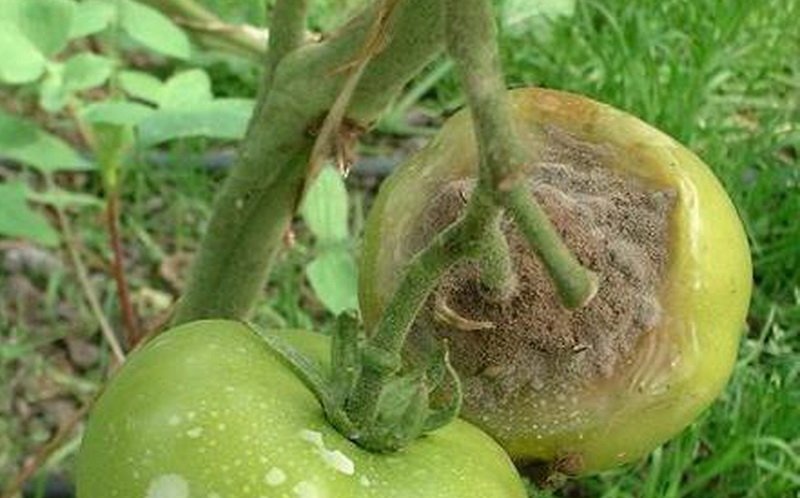
- Top rot - the appearance of weeping spots on the top of the green fruit. It ripens quickly, but does not have a presentation. Fruits lying on the ground are more often affected.
- Stick (viral disease) - parts of plants are covered with yellow stripes. The flowers fall off, the fruits do not fit.
Treatment and prevention of fungal diseases - treatment once every 2 weeks with HOM, Oxyhom, Speed. Bushes affected by viral diseases are destroyed.
The main pests of tomato Finish:
- Colorado beetle;
- Whitefly;
- Slugs.
Against the larvae and adults of the Colorado potato beetle and whitefly, they are treated with Fitoverm. Slugs are collected by hand or sprinkled around the bush with ash along with tobacco dust and lime.
More information can be found in the video:
Every year I plant this variety and I can say that it fits perfectly both for canning in jars and for tomatoes. Grow, like any variety, you need to be especially careful, observing proper watering, lighting and protection from pests.
AnnaAlimova! We also plant this variety with seedlings in a greenhouse because it is tasty. We believe that you are writing correctly. And this variety is suitable for conservation and for blanks. However, it is also universal.
It is good that this variety is determinant and has a limitation in growth, therefore, to tie up tomatoes, it will be enough to have pegs about a meter high. We planted tomatoes of this variety several times, the taste of the fruit is really very pleasant.